
I knew I wanted to make the boys some quilts to fold at the end of their beds, but also small enough to use as a lap quilt in the car or watching tv. I found material at Joanne's, but found it was pretty pricey (which is the story for all licenced fabric, don't you think?) I started buying the fabric back in August using my 40% or 50% off coupons. By November, I had found and purchased all of my fabric.
I did a "quilt as you go" type quilt for Eliza's room and O's bed. However, I found I had a hard time preventing bunching on the backing. I bucked up and decided to try a "real" quilt. You know. One with a real quilt top, backing, and those silly "basting" pins you're supposed to use.
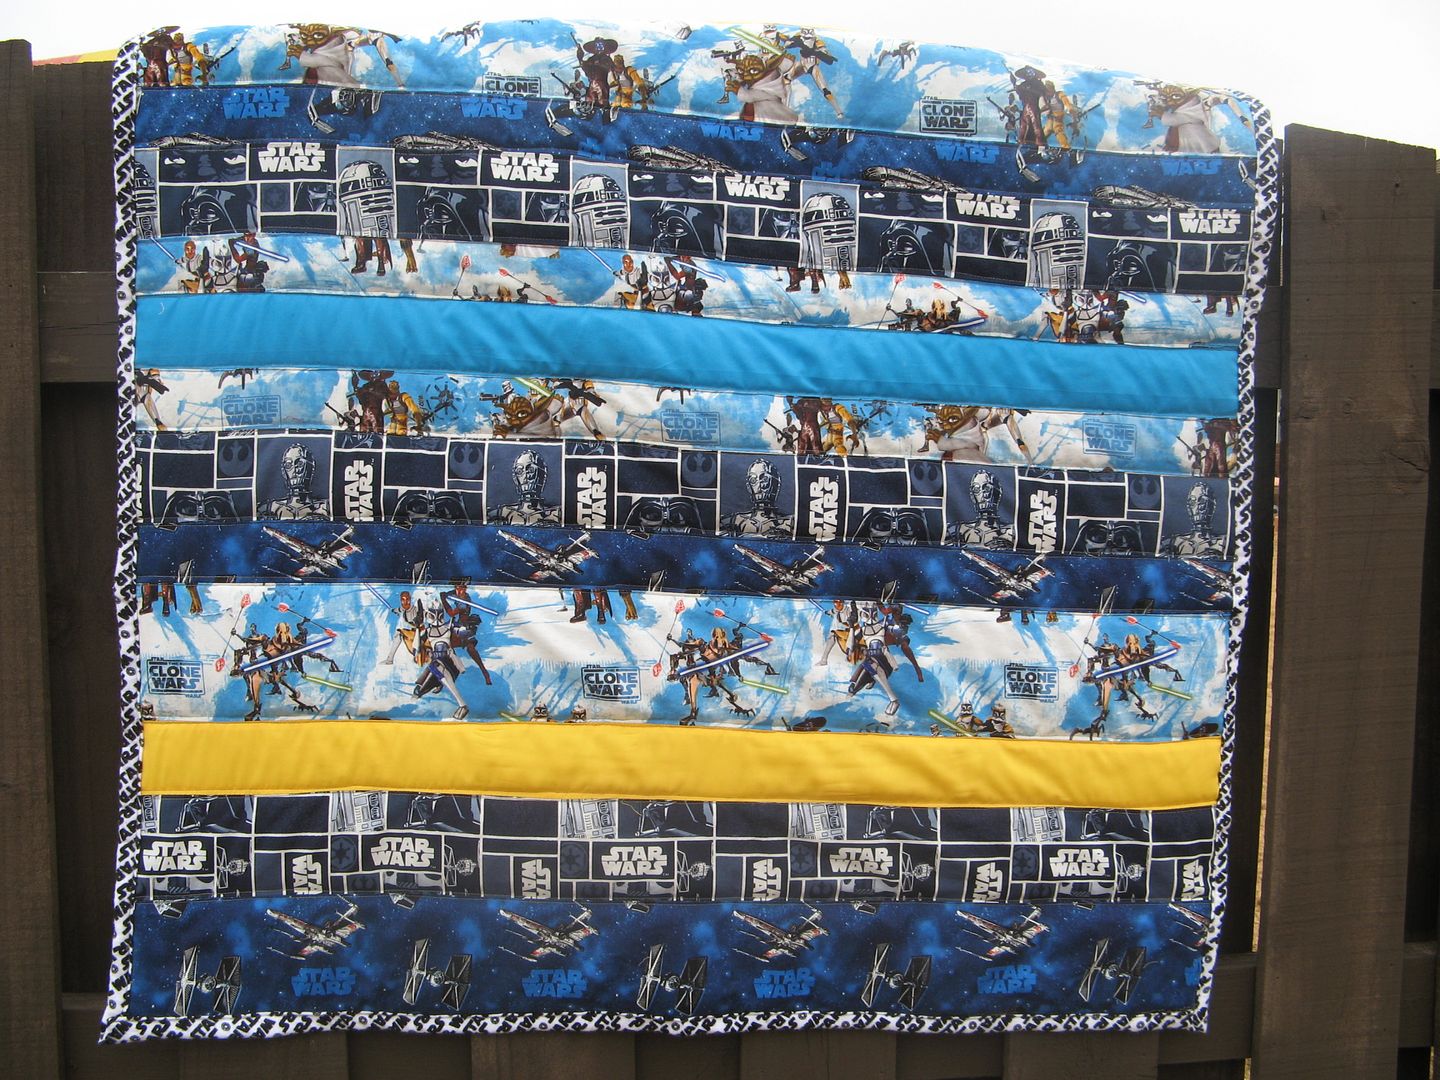
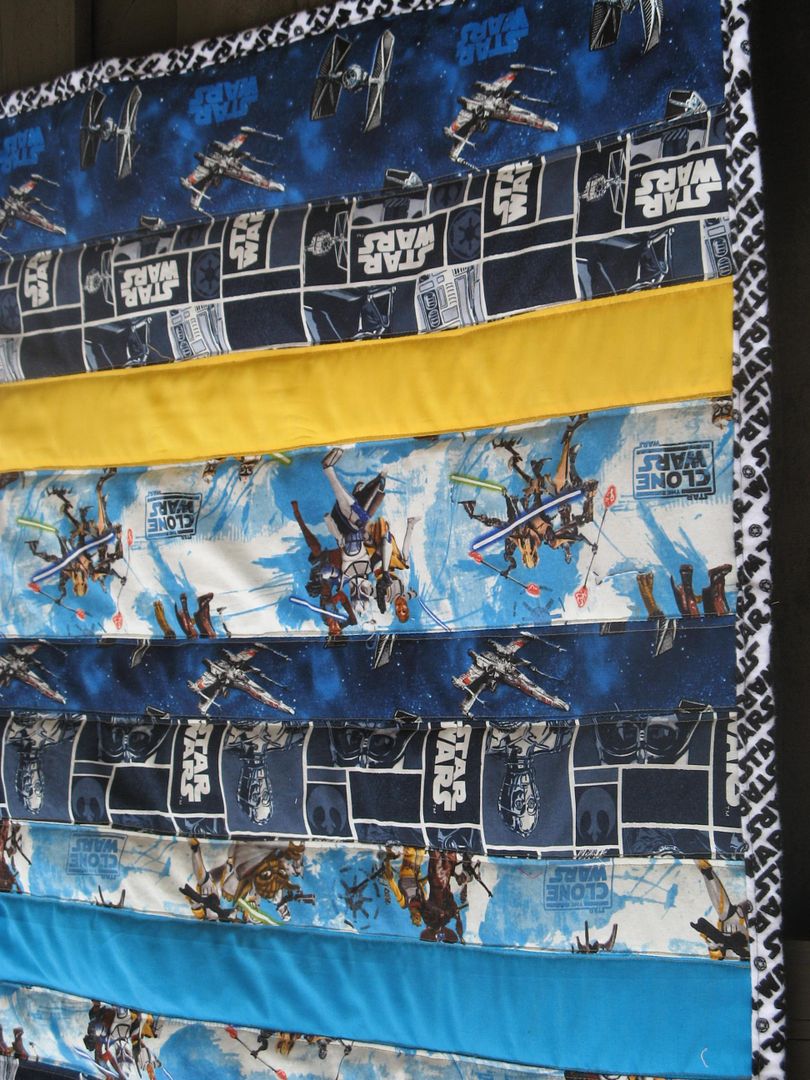
After gathering my materials, I quickly realized that a block quilt top was just not going to cut it. Cutting blocks would've cut out many of the characters faces, or the words. So I scoured the interwebs for an easy strip quilt.
I came across this tutorial. It was perfect. Strips? Check. Using the backing as binding? Check.
I started on my first quilt using her tutorial. The strips came together nicely for the quilt top. When it came time to baste, I thought I could skip over taping it to the floor, and just wing it with straight pins. While I didn't have much bunching when quilting it together, I found that my backing was crooked. Of course, I didn't find that out until AFTER I had quilted the ENTIRE THING! So, alas, I had about 4 inches of backing on one side to use as binding, and only .5 inches on the other. Fail.
I had to find something to use as binding then, since I couldn't pull from the back fabric. (see? This is why I'm a rule follower. I should have known better. Follow. The. Directions!) I asked my friend Raechel, who I remembered, has done a quilt binding by hand. She sent me in the direction of this tutorial.
I grabbed some extra fabric that I had left over from the boys' curtains, and got to work. I didn't like it. I can't blame the tutorial for the fact that it didn't turn out to be my favorite. It was really my fault, and the fault of the very wiggly fabric. But, E insisted it looked fine. After my hours of work, I wasn't super keen on taking it all off anyway.
The next quilt went much smoother. Especially since I decided to be a good girl and follow the directions. I taped it all down in my family room, on the hardwoods, and got to pinning. I sewed it all up, and, what do you know? There was plenty of fabric on the back left for a binding. Hurrah!
The boys opened them up on Christmas morning and were less than impressed. (of course, it was competing with things like a bb gun and a bike!) However, since, they have loved having their very own blanket to cuddle up with at night, and they've even taken them on a road trip to visit my Grandpa.
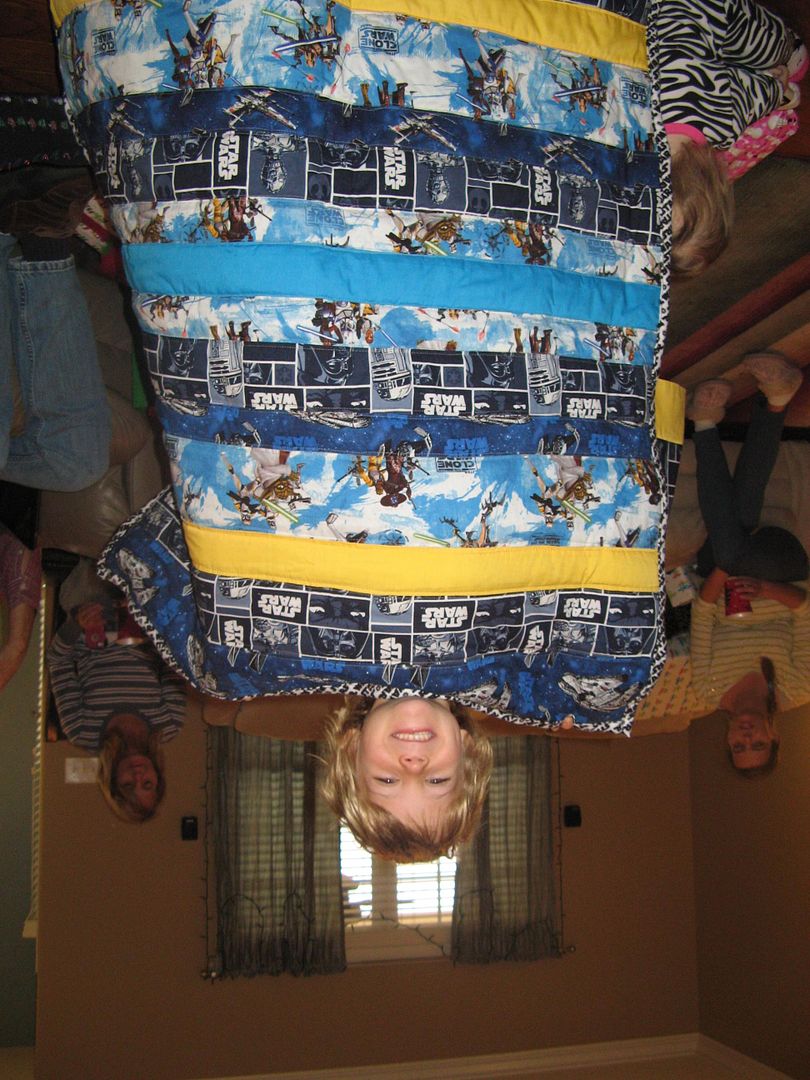
The funny part, though, is that they fight over the "good" quilt, even with out knowing how I feel about them. Either they sense my secret loathing over the binding on the one quilt, or they just like the way the black looks versus the red. In any case, we do not have any pictures of the "sad" quilt on Christmas day. But, I have an action shot.

3 comments:
I love these and am jealous that I don't know how to sew! :)
They look great to me!
Ugly quilt....no way!
Thanks for sharing the tute, I have strips cut for my FIRST quilt and had not seen her method of binding before.
Post a Comment